Tech Tool: Creating a Google Form Zoom-in Activity
This is a guest post from Sara Conyers, a middle school history teacher at Longfellow Middle School in Falls Church, Virginia.
Creating a Zoom-in primary source analysis activity using Google Forms is quick and easy.
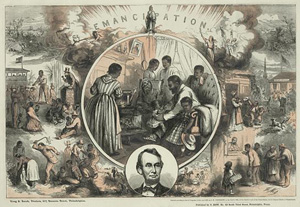
Step 1 – Select Image
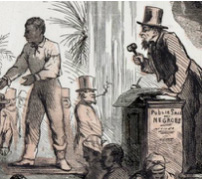
Select a primary source image that will challenge your students to dig deeper into the meaning and message of the creator. Images can be photographs, fine art, political cartoons, sheet music, printed ephemera and more.
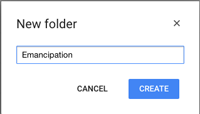
Step 2 – Create Dedicated Folder
To facilitate access, I first create a separate folder on my drive for each Zoom-in activity. This folder will include the full image as well as the image-crops.
Step 3 – Save Full Image
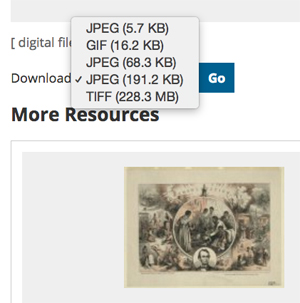
Save the full image in one of the following formats: .jpg/.jpeg, .gif, .png. The Library of Congress typically offers both .jpg and .gif but I would suggest saving the highest quality, or largest file size, .jpg image available. Many images from the Library are also available in very-high resolution .tif/.tiff format but you will need access to software, such as Adobe Photoshop, to convert a .tif file to a .jpg file.
Step 4 – Create Image Crops
Decide if you are going to increase the size of your crops so that students are slowly exposed to more and more of the image or if you want students to focus on specific details within the image (see examples at the end of this post). Think about which section of the full image students should zoom-in to first. Crop the image to the designated section and select Save As to save the crop as a new image file. I find it is easiest to add a number to the full image file name as I go along.
Step 5 – Create Google Form
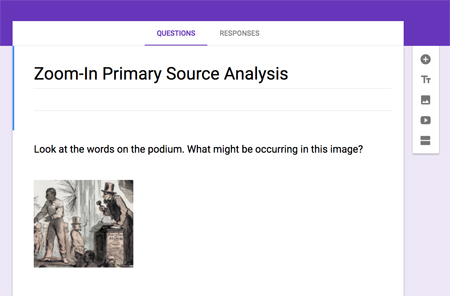
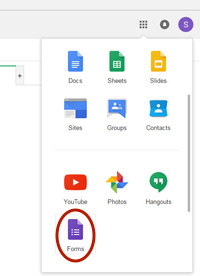
Create your Google Form (click the previous hyperlink for assistance). As you want to reveal the full image section by section, you will use the ‘Section’ feature of Google forms. You will create a separate section for each image crop you created.
Beginning Section
- Include a required “student name/names” entry and “period” entry if using the primary source analysis activity with multiple classes. Doing so will later allow you to sort student analyses by class period in the spreadsheet.
- Make sure to insert a section break at the end.
Middle sections
- In these sections you will provide increasingly larger crops of the full image or isolate specific details for student analysis.
- The final middle section will include the full image.
- Provide a title for each section. I title my sections by image number.
- Beneath each image crop, you will include a few questions that to guide student analysis.
- Remember to insert a section break at the end of each middle section.
Final Section
- In the last section, provide the image citation and a link to the bibliographic record (see Citing Digitized Sources from the Library).
- I would also suggest including a question something like: How does the information you found in the bibliographic record inform your understanding of this image?
- Google Forms save automatically so there is nothing more to do once you have completed the final section.
Step 6 – Share with Students
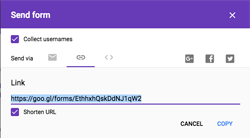
Once completed, there are several methods to sharing the Google Form Zoom-in with students.
- Share the link to the Google Form with your class via your Learning Management System (Blackboard, Edmodo, Google Classroom, Moodle, etc.).
- Shorten the link URL, or web address, so that it is easier for students to copy and type directly into their Internet browsers. URLs can be shortened via Google (link to directions) or you can use another link shortening providing such as Tinyurl.com.
- Convert the link URL into a QR code – students can access the form via any device with a QR reader app loaded on a tablet or phone .
- Email the link directly to your students.
Step 7 – Review Student Work
- Access student responses via Google Drive.
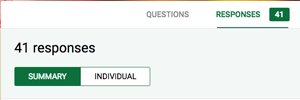
- The master Google Form you created allows you to view student responses in three different formats.
- individual responses on the form
- summary of responses on the form
- spreadsheet listing all fields for each submission through Google Sheets, which allows you to sort responses by various criteria.
Helpful Hints
- Because Google Forms do not “save” in student drives, this primary source analysis activity works best as a one-class-period lesson or as a homework assignment.
- It is helpful to have students work in pairs to complete the Zoom-in activity to facilitate greater conversation and deeper understanding of the image.
- Once students have become adept at analyzing primary sources in this format, you may want to have students complete a Zoom-in activity independently for a formative assessment.
- As an extension, you can have students create their own image crops for class discussion.
Don’t miss the first two posts in this three-part series from the wonderful teachers from Fairfax County Public Schools!
- Integrating Tech: Zoom-in to Primary Source Analysis
- Teaching Now: Zooming In on the Benefits of Primary Source Analysis Using Google Forms
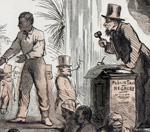
Zoom-in analysis example 1: gradual release
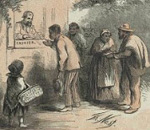
Zoom-in analysis example 2: focus on details
Related resources

