Using Sources: Saving High Resolution Images
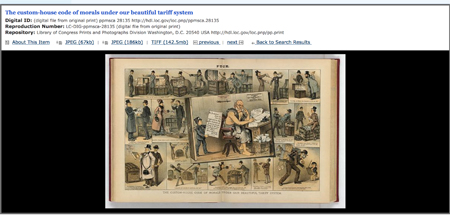
Many images from the Library of Congress are available in several formats: lower resolution JPEG (.jpg), higher resolution JPEG (.jpg too but a larger file size) and TIFF (.tif). TIFF files are the largest and, therefore, the highest resolution files. TIFF files are often crucial to focus on analyzing small text or other details in primary source cartoons and images. To facilitate student analysis of TIFF files and to save limited network drive space, you can save these files as PDF (.pdf) documents. The Library lists the .tif file for the image above as 142.5 mb but both Mac and Windows registered the file at 149.5 mb; either way, those are gigantic file sizes. Below we provide directions for saving .tif files as .pdf files on both Mac and Windows computers.
Mac computers: OS X Yosemite (version 10.10.5) and above
- Right click the TIFF link to download the file (suggestion: rename the file right away using the image title or a portion of it).
- Open the .tif file using Preview.
- In Preview, click File > Export.
- Use the drop-down Format menu to change the file format from TIFF to JPEG.
- Review the file size and choose the quality you want (for the image above, the auto-generated size a bit below Best was 14.3 mb).
- Click the Save button.
- Open the newly created .jpg file in Preview.
- In Preview, click File > Export as PDF.
- Click the Show Details button to make sure that the Orientation matches that of the image (i.e., for the picture above, choose horizontal orientation).
- Click the Save button (with the 14.3 mb .pdf file you can easily zoom in to 400%, which makes the small text easy to read).
If you have an earlier version of OS X and the above method does not work, try using File Viewer, a free app from the Mac App Store.
Windows computers: Windows 8 and above
- Right click the TIFF link to download the file (suggestion: rename the file right away using the image title or a portion of it).
- Open the .tif file using Windows Photo Viewer.
- Click the arrow next to Print and select Print.
- From the Printer menu, select Microsoft Print to PDF.
- Click the Options link above the Cancel button.
- Click the Printer Properties link to make sure that the Orientation matches that of the image (i.e., for the picture above, choose horizontal orientation).
- Click the OK button.
- Click the Print button (with the 8.5 mb .pdf file you can easily zoom in to 400%, which makes the small text easy to read).

